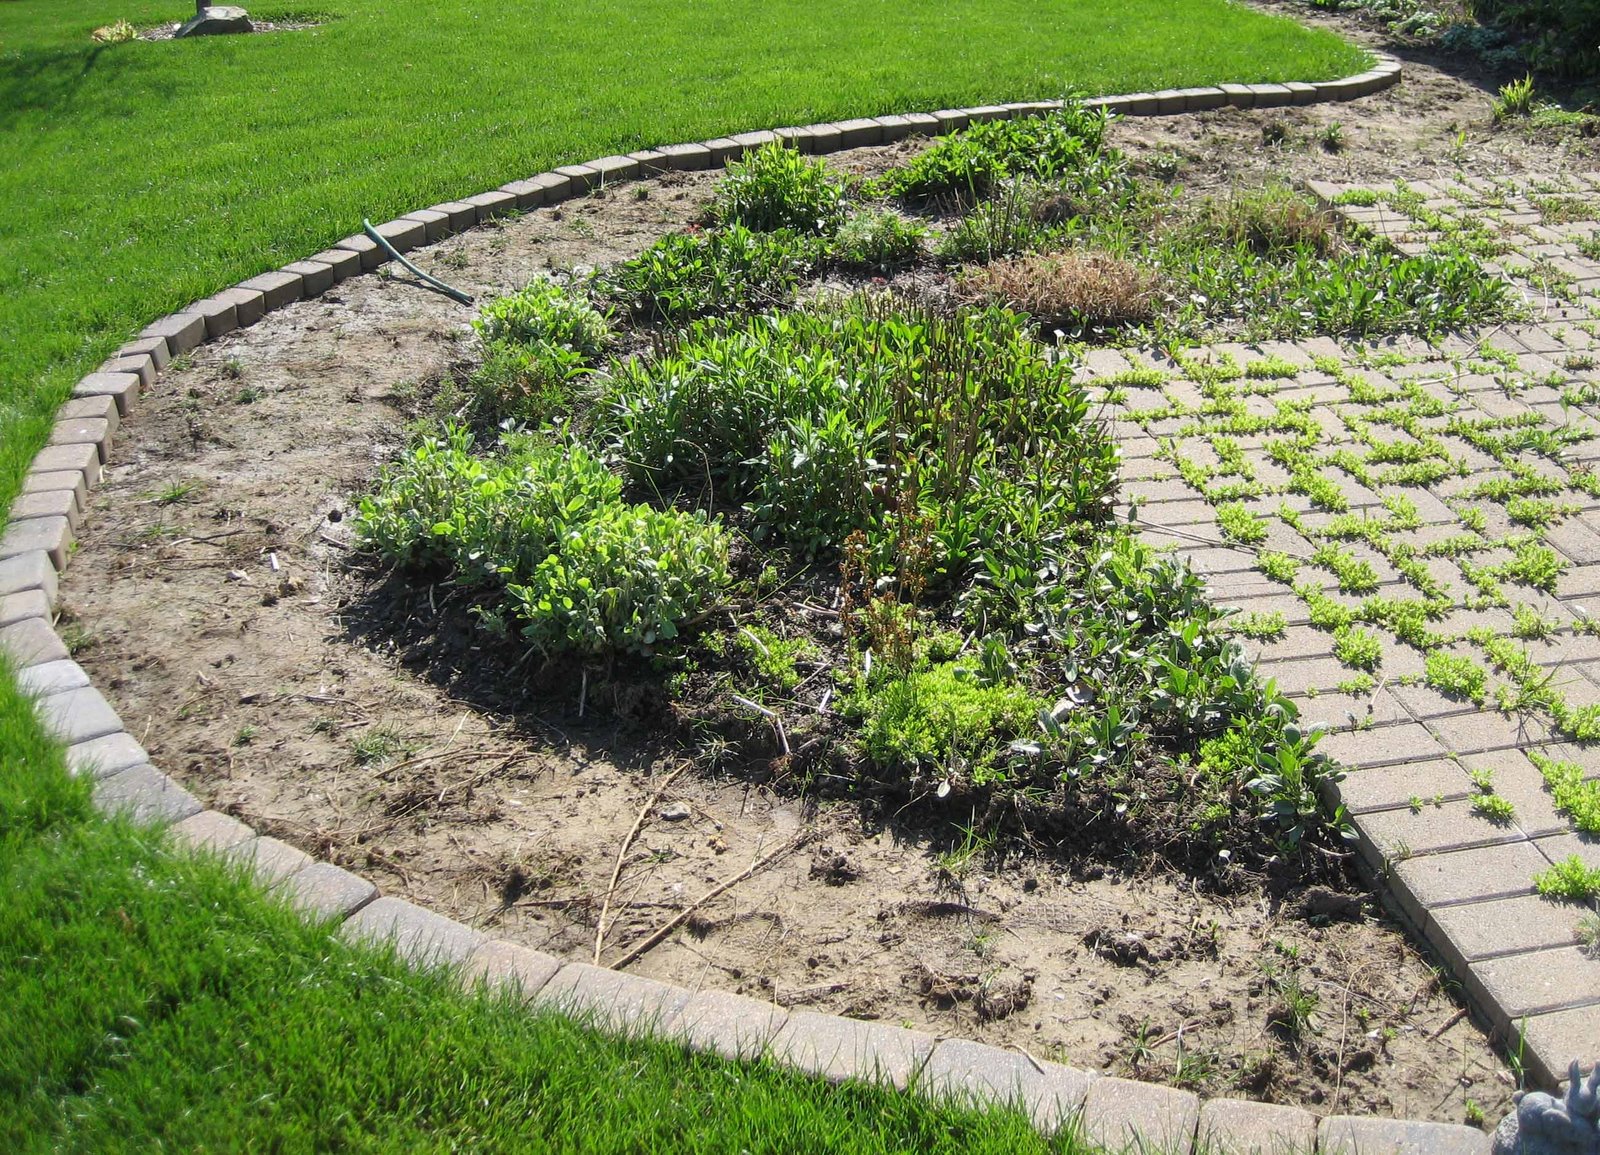
In the spring, there are slivers of time when the sun is shining and the ground is dry enough to work when you just have to make time to work in the garden. I took advantage of one of those slivers of time today to finish renovating my perennial flower bed. I had already widened it earlier this spring, and was just waiting for this kind of day to complete the renovation. Here is the bed at approximately at 10:30 this morning, right before I started to dig out the perennials.
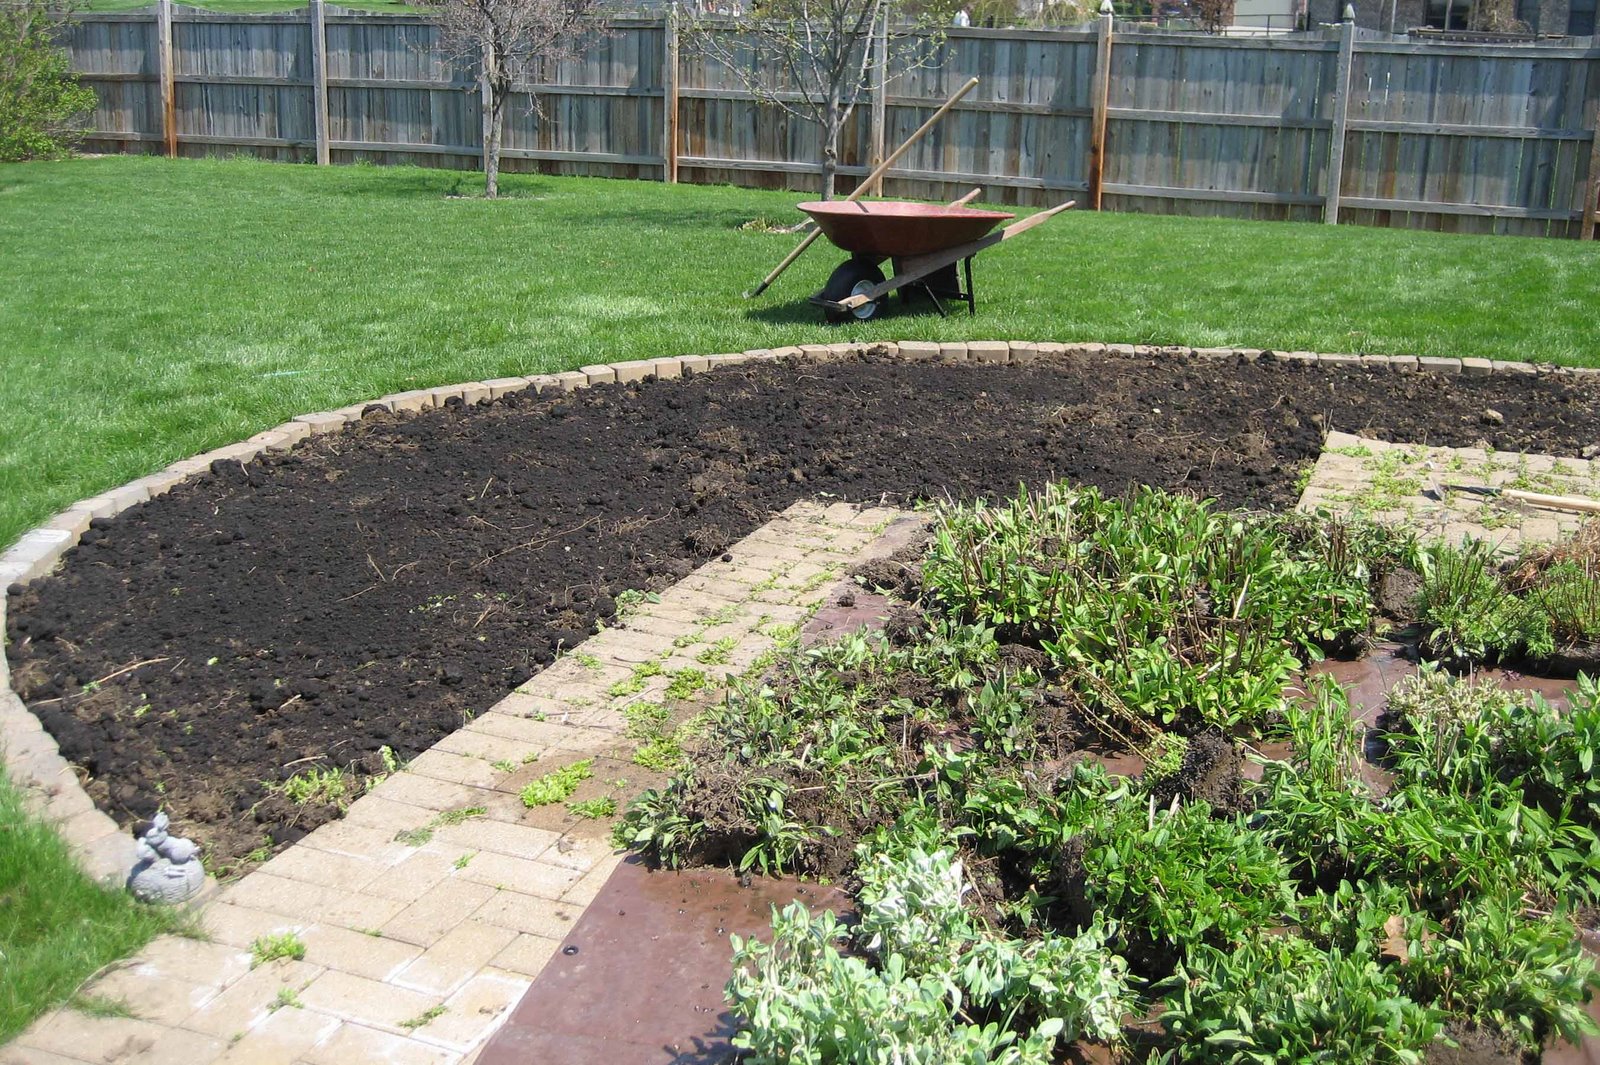
Two hours later, I finished digging out all of the plants. That took a bit longer than I had hoped. Two more hours later, around 2:30, the ground was prepared for planting. It didn’t take me the whole two hours to do this, as I was taking a lunch break for part of the time. I did not attempt to completely overturn all the soil, I just roughed it up a bit with a spading fork and a hoe, and then added some black top soil on top and raked it all smooth.

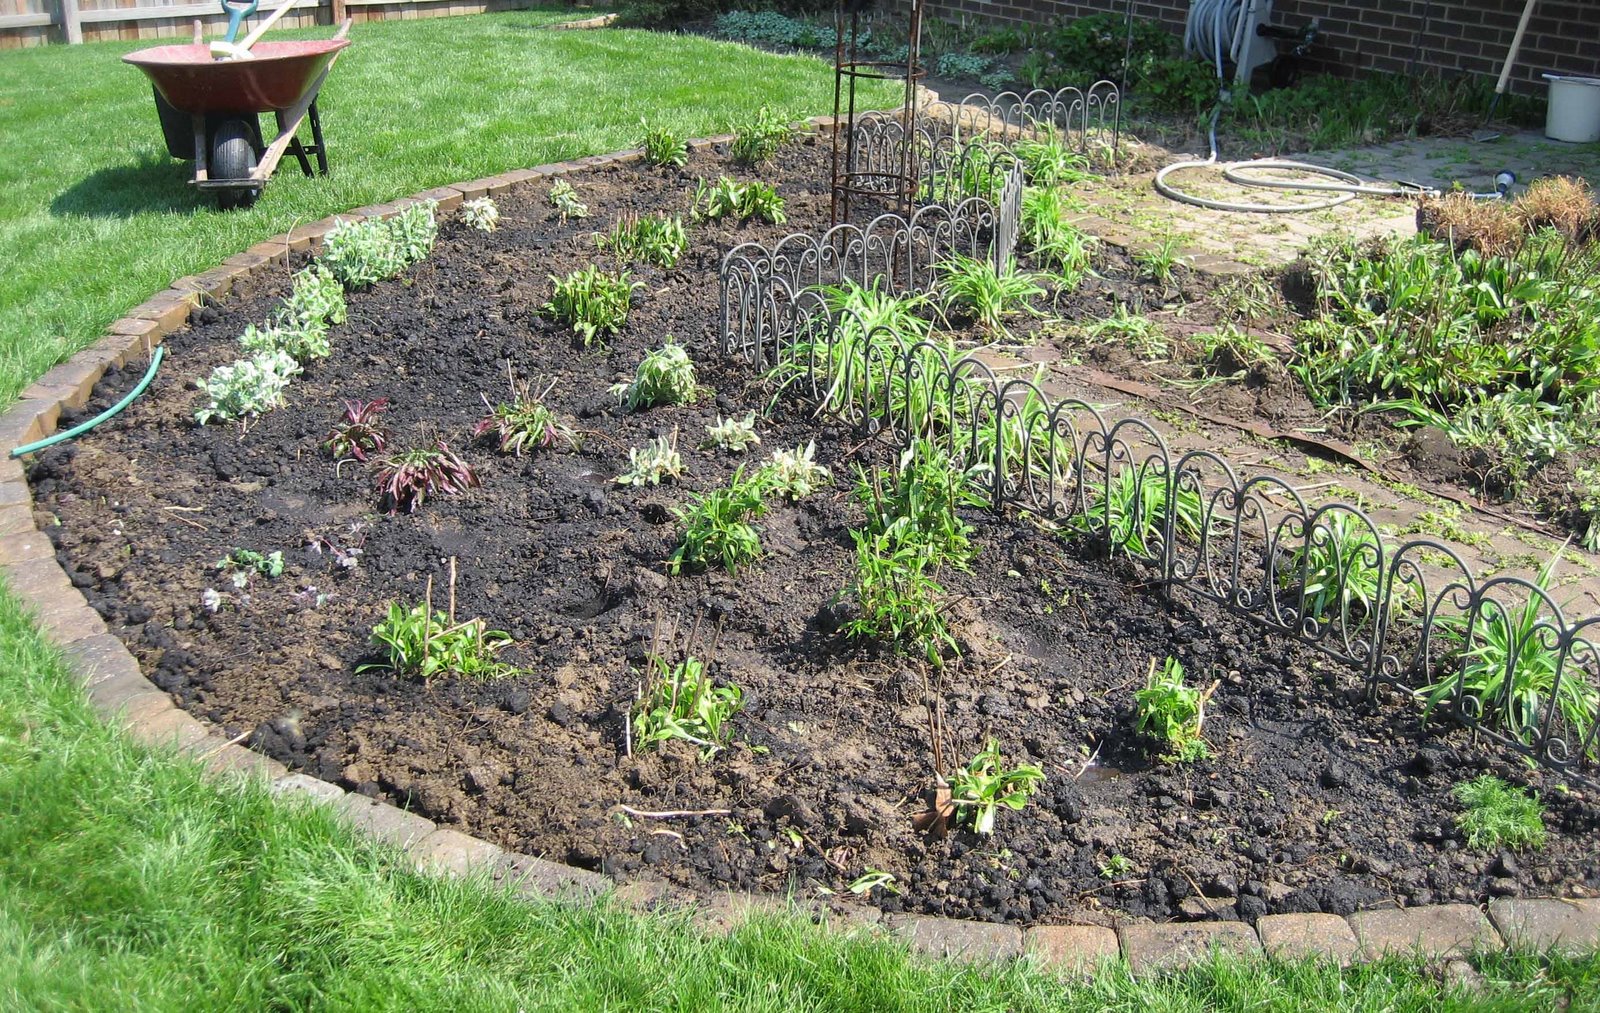
Guess what didn’t take all that long? That’s right, replanting the perennials took me only 45 minutes. This included going around to a few other flower beds and digging up some other perennials that were either crowded out where they were or that I just wanted to put in this bed. And look, I have some left over plants, still on the tarp on the right hand side of this picture.
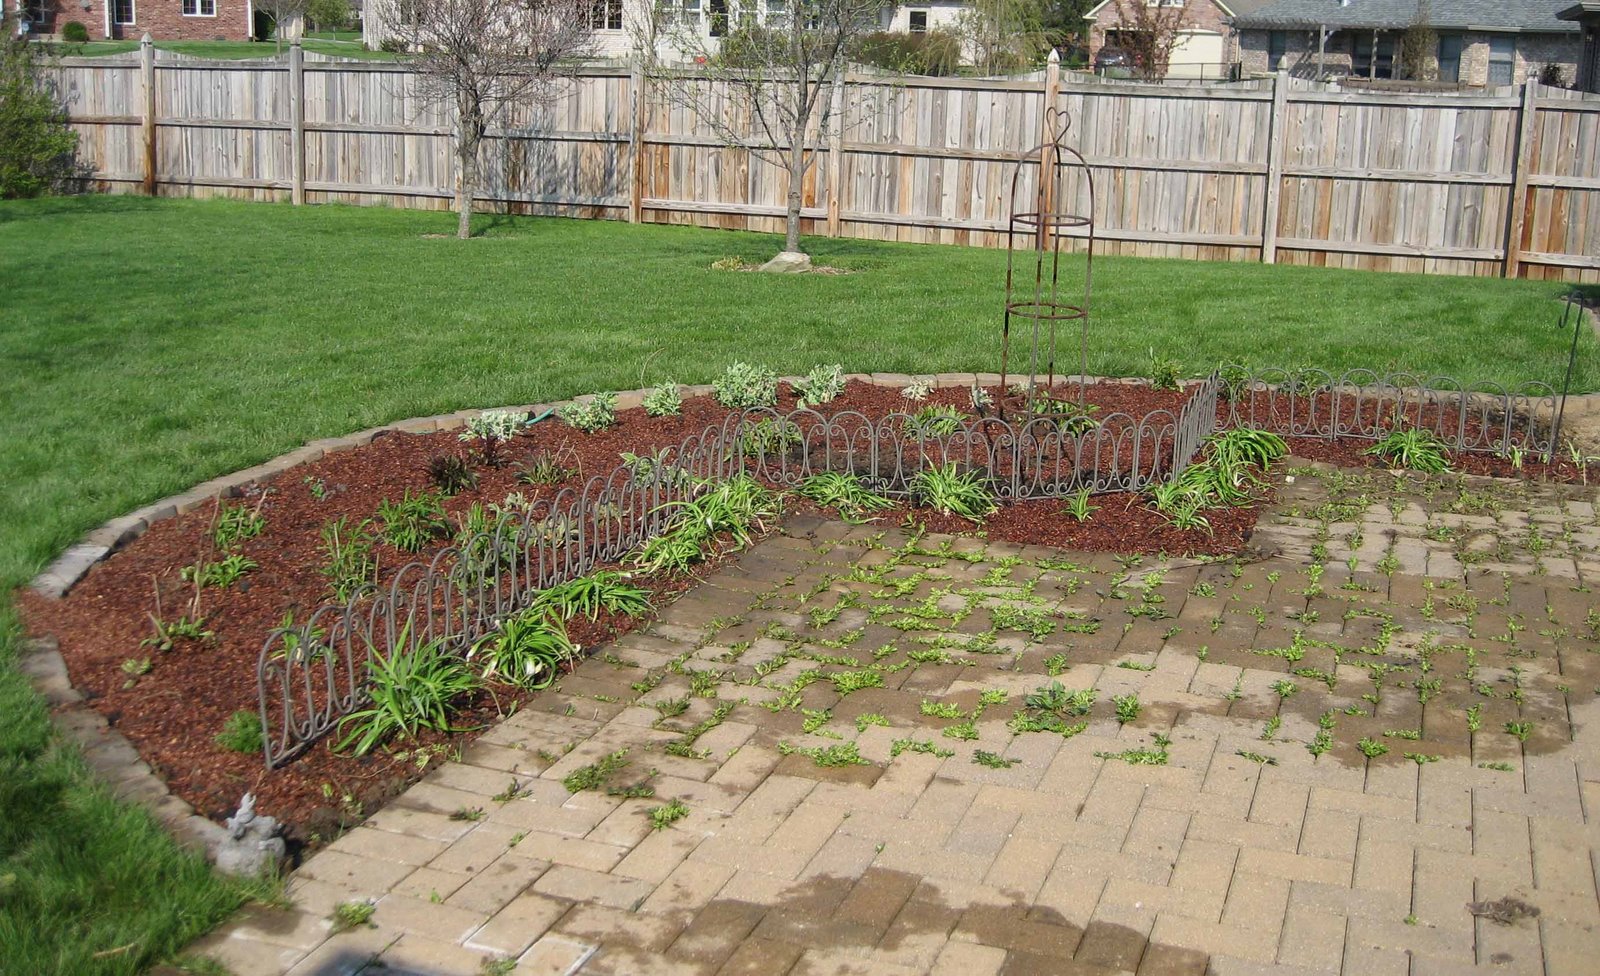
Here’s the finished bed, after adding mulch. I used cocoa hull mulch, which smells yummy, like I was baking a big chocolate cake outside. By now it was about 3:45 PM and I was starting to fade a bit. Please note that the tall obelisk feature is only there as a place holder. I intend to put a better feature there, but haven’t had time to shop for it. Also, those aren’t weeds in between the bricks on the patio, that’s some sedum and thyme. It won’t look so messy once I add the furniture and a few pots.
The leftover perennials were primarily Black-eyed Susans, False Sunflower, Shasta Daisies and some Autumn Joy Sedum. I decided while digging them out that they were not well enough behaved to go back in that bed (except for the Shasta daisies and Autumn Joy Sedum, they are well behaved, but I just had too much of them). So I planted most of them in another perennial bed that is a bit out of control anyway. They’ll fit right in. And, yes, some of them ended up in the compost bin. There is only so much room for Black-eyed Susans and there were some geraniums that were too infested with grass to save, especially at the end of a project like this when the gardener is tired. They weren’t all that spectacular, anyway, so I hope I don’t regret tossing them.
I do work fast on projects like this, but take several little mini breaks. I’ve been gardening for “awhile”, so I know basically what I need to do, and how I want to do it so I just dig in. I also generally work alone, so there are few distractions. I will say that on this project, it would have been nice to have someone there who could have helped with some design decisions. But, there wasn’t anyone around, so I designed as I planted as best I could. If something doesn’t look right later, it will be fairly easy to dig and replant, right?
If we don’t get too much rain this week, next weekend I’ll replant the hosta bed that runs along the back of the house and connects in to this bed. The show plant of that bed will be the giant hosta I got from my sister last year.
And finally, before I finish up this chapter on the renovation of this perennial flower bed, I have a few family members to thank for making today possible. They know who they are. I’ll make it up to them some day when it is raining!


Carol, do you order your cocoa bean hulls from an internet source or does someone locally sell them? I am partial to hostas, I can’t wait to see a picture of your hosta bed with the giant hosta!
There’s something satisfying about digging up and weeding perrennials then replanting them with the intention of making an even better garden… ideally a bigger garden, isn’t there? I find myself with a project like this every year. Oh and I must uninfest my lavender of grass. They are beautiful and it is my fault.
Giant hosta? I’m intrigued.
Wow that was a lot of work, I find that I need to take many little breaks and drink a lot of lemonade
Geez, Carol, I’m jealous! You really got a lot done, and there’s no way I thought those were weeds between the pavers. (Spoken from one who is constantly trying to “encourage” creeping thyme and other spreaders between the flagstones.)
Your grass looks fabulous, too. And isn’t it wonderful to have a day that’s just right for a big job like that? We had one of those days here yesterday too, but unfortunately, I also had stomach flu. Maybe next weekend!
You’ve worked very hard I see, and the result is looking good! I’m looking forward to see this bed in full flower in a few months time.
A word of warning about the cocoa hull mulch; it is toxic to dogs, so be careful with that. It smells great though, but it’s chocolate of course, and I have yet to meet the woman who doesn’t like chocolate. 😉
That you have sedum between the bricks made me smile, I have that too. Looks lovely!
Yolanda Elizabet: Thanks for the comment about the cocoa hull mulch being toxic to dogs. For years I have envied Carol and her expensive mulch (it smells unbelievable!), but with 3 dogs, I am free to no longer covet it!
Carol: I’m glad you had a successful day gardening — you deserve it 🙂
Looks great. And I too am amazed at the speed with which you work.
Carol, isn’t turning your dreams into reality so satisfying? I completed my new perennial bed less than a month ago and the transplants have already doubled in size! Like Robin, I’m curious about the use of cocoa hulls…
I think sometimes digging things up and replanting things is great fun. And a lot of plants do much better when cut back or divided.
Thanks for sharing. You’ve inspired me a bit. 🙂
With the wheelbarrow in there the relative size of this bed is now apparent – that’s a really big area, Carol and it should look spectacular.
I used cocoa mulch in Illinois – it was readily available at that time, and I thought it was even better used as a soil conditioner than as a mulch. I don’t know if anyone suspected any toxicity back then, but I didn’t have dogs, and neither did any nearby neighbors.
The corrugated, large leaved hosta is gorgeous.
Annie
All… thank you for all the comments.
Robin… I answered your question about where to get cocoa hull mulch in a comment on your blog.
Ottawa Gardener… I’m glad I’m not the only one with the problem of grass creeping in where it shouldn’t.
Rusty… I think breaks are important to keep going, and the hotter it is, the more breaks we need!
Lost Roses… Sorry to hear you were sick. I would hate that on a pretty day perfect for gardening.
Yolanda Elizabet… Good point about the cocoa mulch, and I will definitely post some follow up pictures of this newly planted perennial flower bed.
Sister with the Homestead… Now what will you be jealous of??
Earth Girl… Thanks, wouldn’t I make a good volunteer garden for the GSP gardens?
Callie… The cocoa hull mulch helps to enrich the soil as it decomposes, which is why I like to use them around perennials.
Gary… It was great fun!
Annie… I didn’t think about the wheelbarrow giving scale in the picture. I’ll have to measure this bed sometime. I do need to find a good focal point, and one that is the right size. I do wish I were better with design!
Thanks for the comment!
What a wonderful bed! You’ve been busy. For my bd (this week), my hubby is having a border bed (very long) dug for me. I hope to have it planted before the 100 degree weather comes.
The garden is looking great Carol!
Always good to break new ground!
Your design looks terrific!
I would like information on how you finished the edge of the flower bed where the dirt meets up with the grass…just the bricks? Plastic? I need to do something in my one bed that’s getting grass growing over the plastic edging that was there. I’m all tired out from digging it out (the grass) and removing the plastic edging. I like the looks of the bricks you have. What’s all to it?