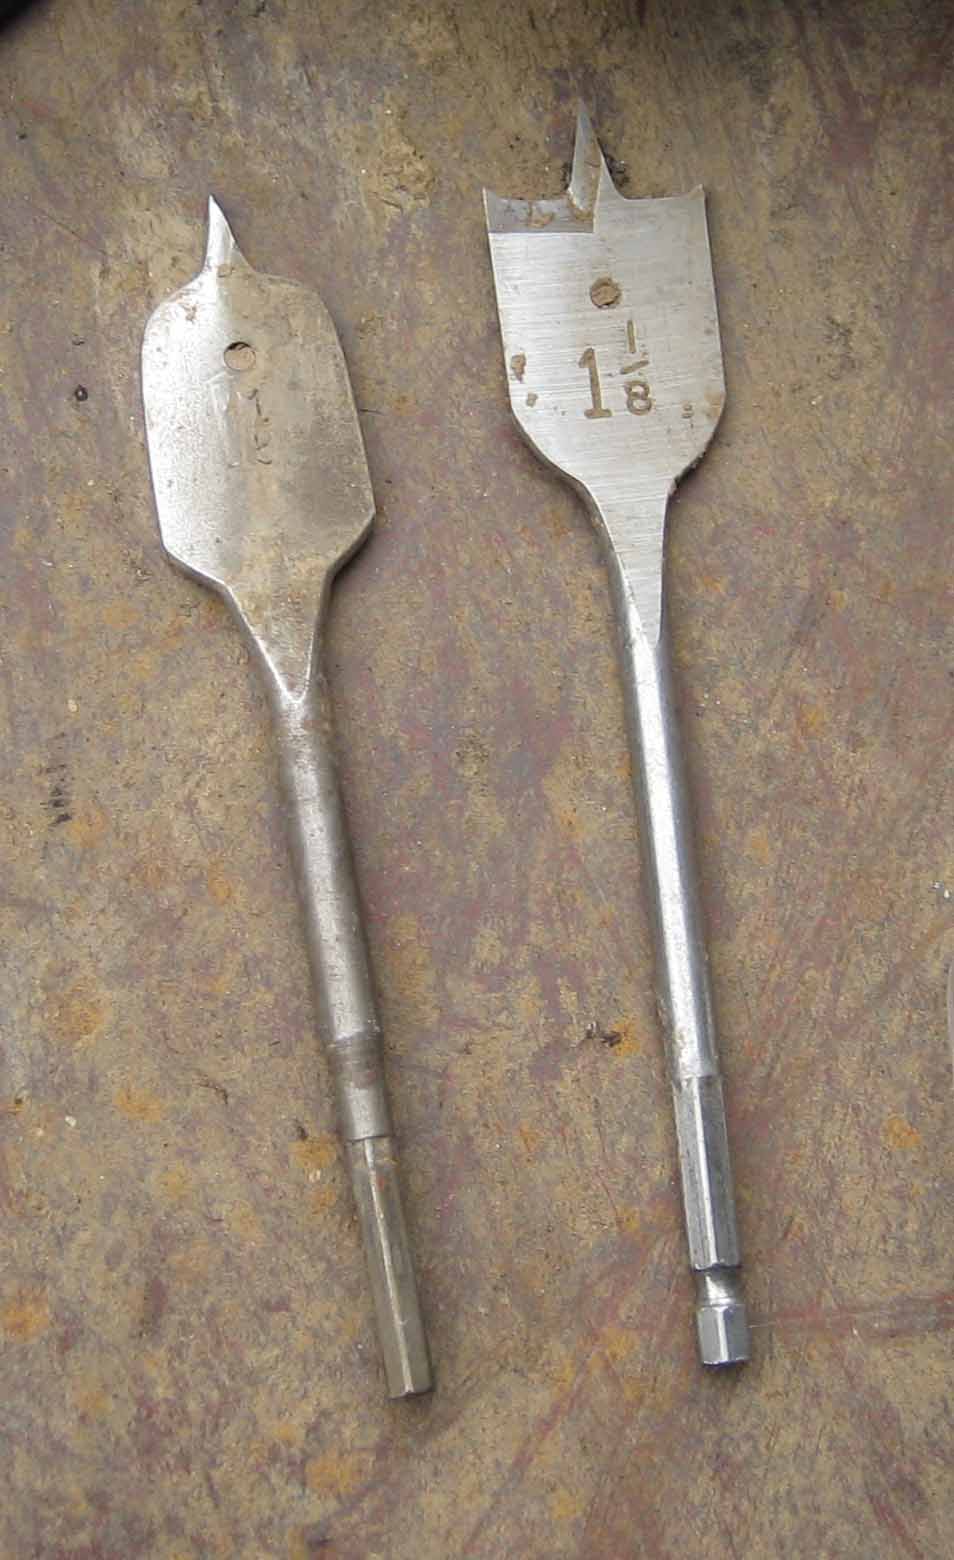
The best tool for planting the smaller minor bulbs is your electric drill and a spade bit.
When I plant bulbs with a drill, I use “stock” spade drill bits, not those special augers that are sold in garden centers. On the left is the drill bit I used five or six years ago to drill 800 holes in my front yard for crocuses. On the right is a fairly new spade bit. There’s quite a difference in those two bits, which brings up the first lesson of using this method of planting bulbs.
Don’t expect to use a drill bit for drilling into wood after you’ve used it for planting bulbs. When you drill into the ground, you will quickly dull the blade.
Other tools that you will need for planting bulbs besides the drill bits are an electric drill, safety glasses, your pruners, some gloves, and of course, the bulbs.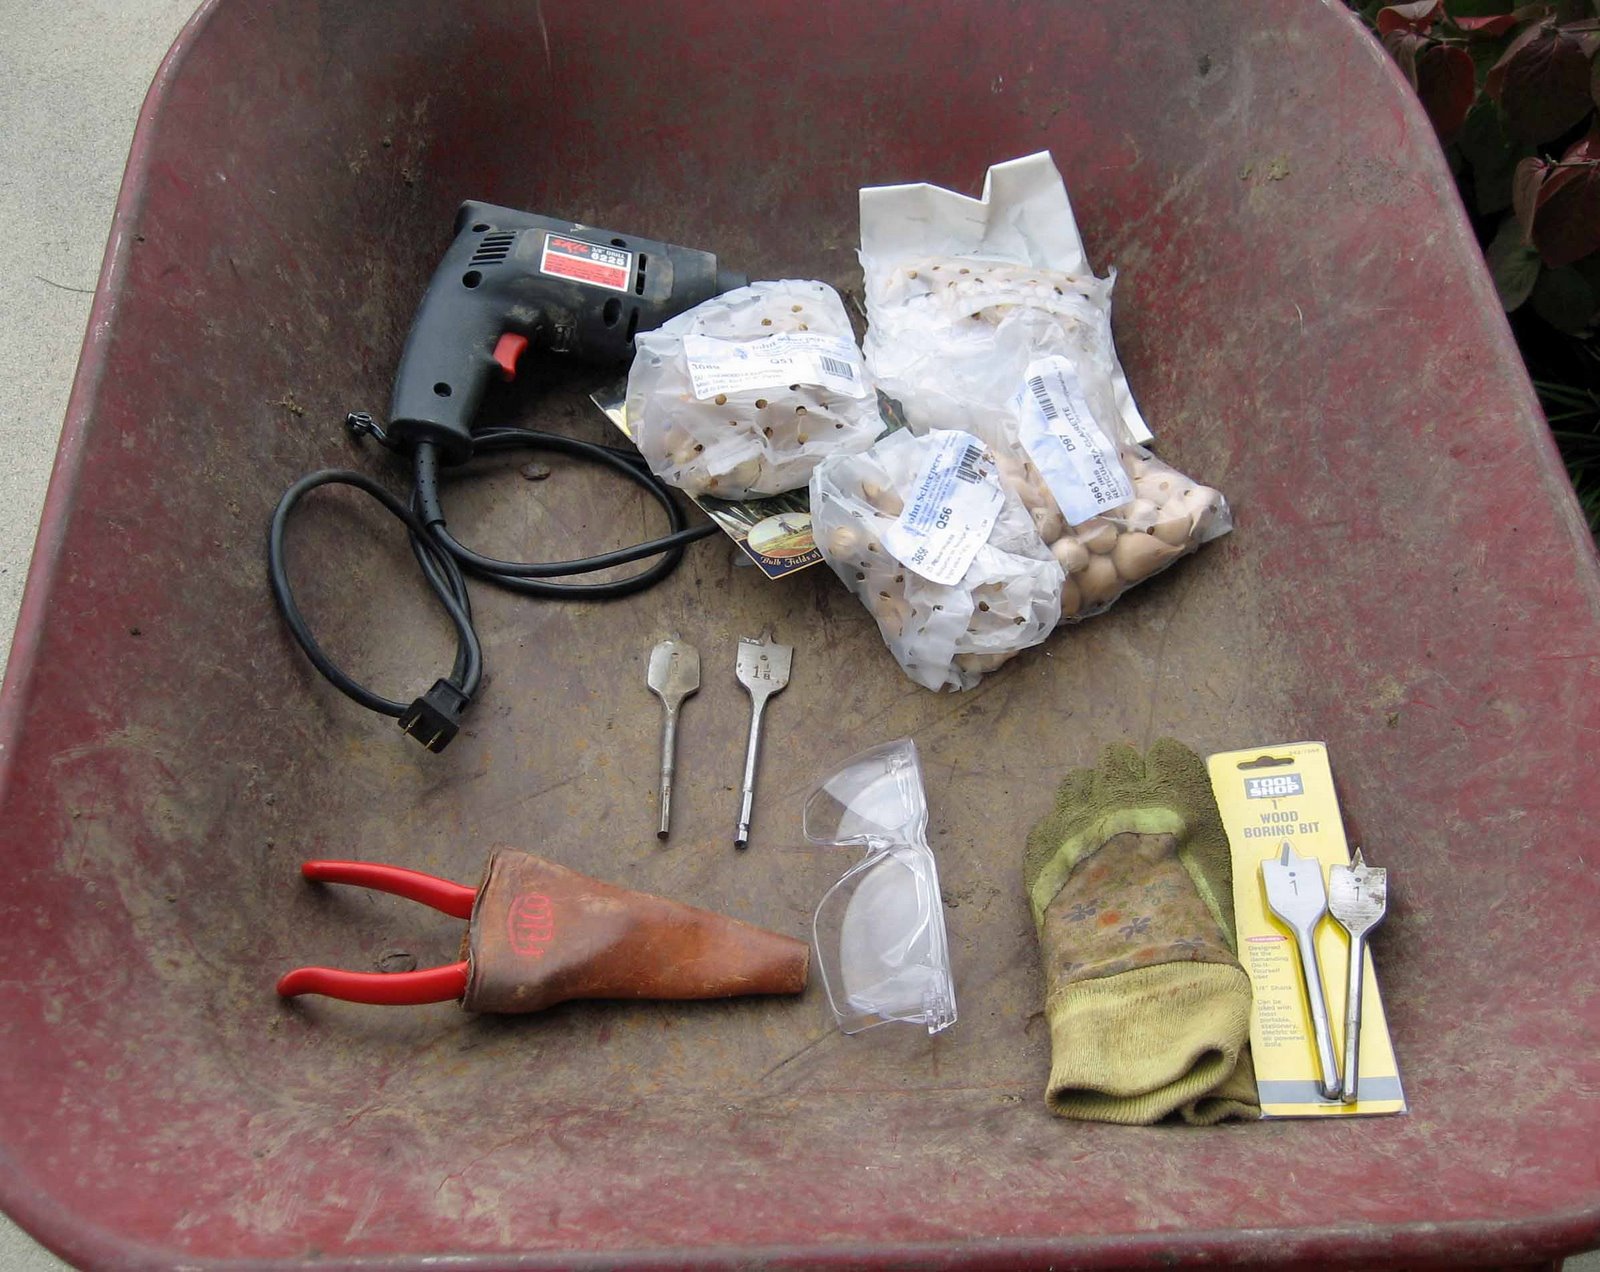 Don’t try to drill without the safety glasses! Dirt still flies up as your drill, though not as much as it does if you use an auger bit.
You will also need a bucket of dirt, any old dirt, like this dirt that came out of a container planting.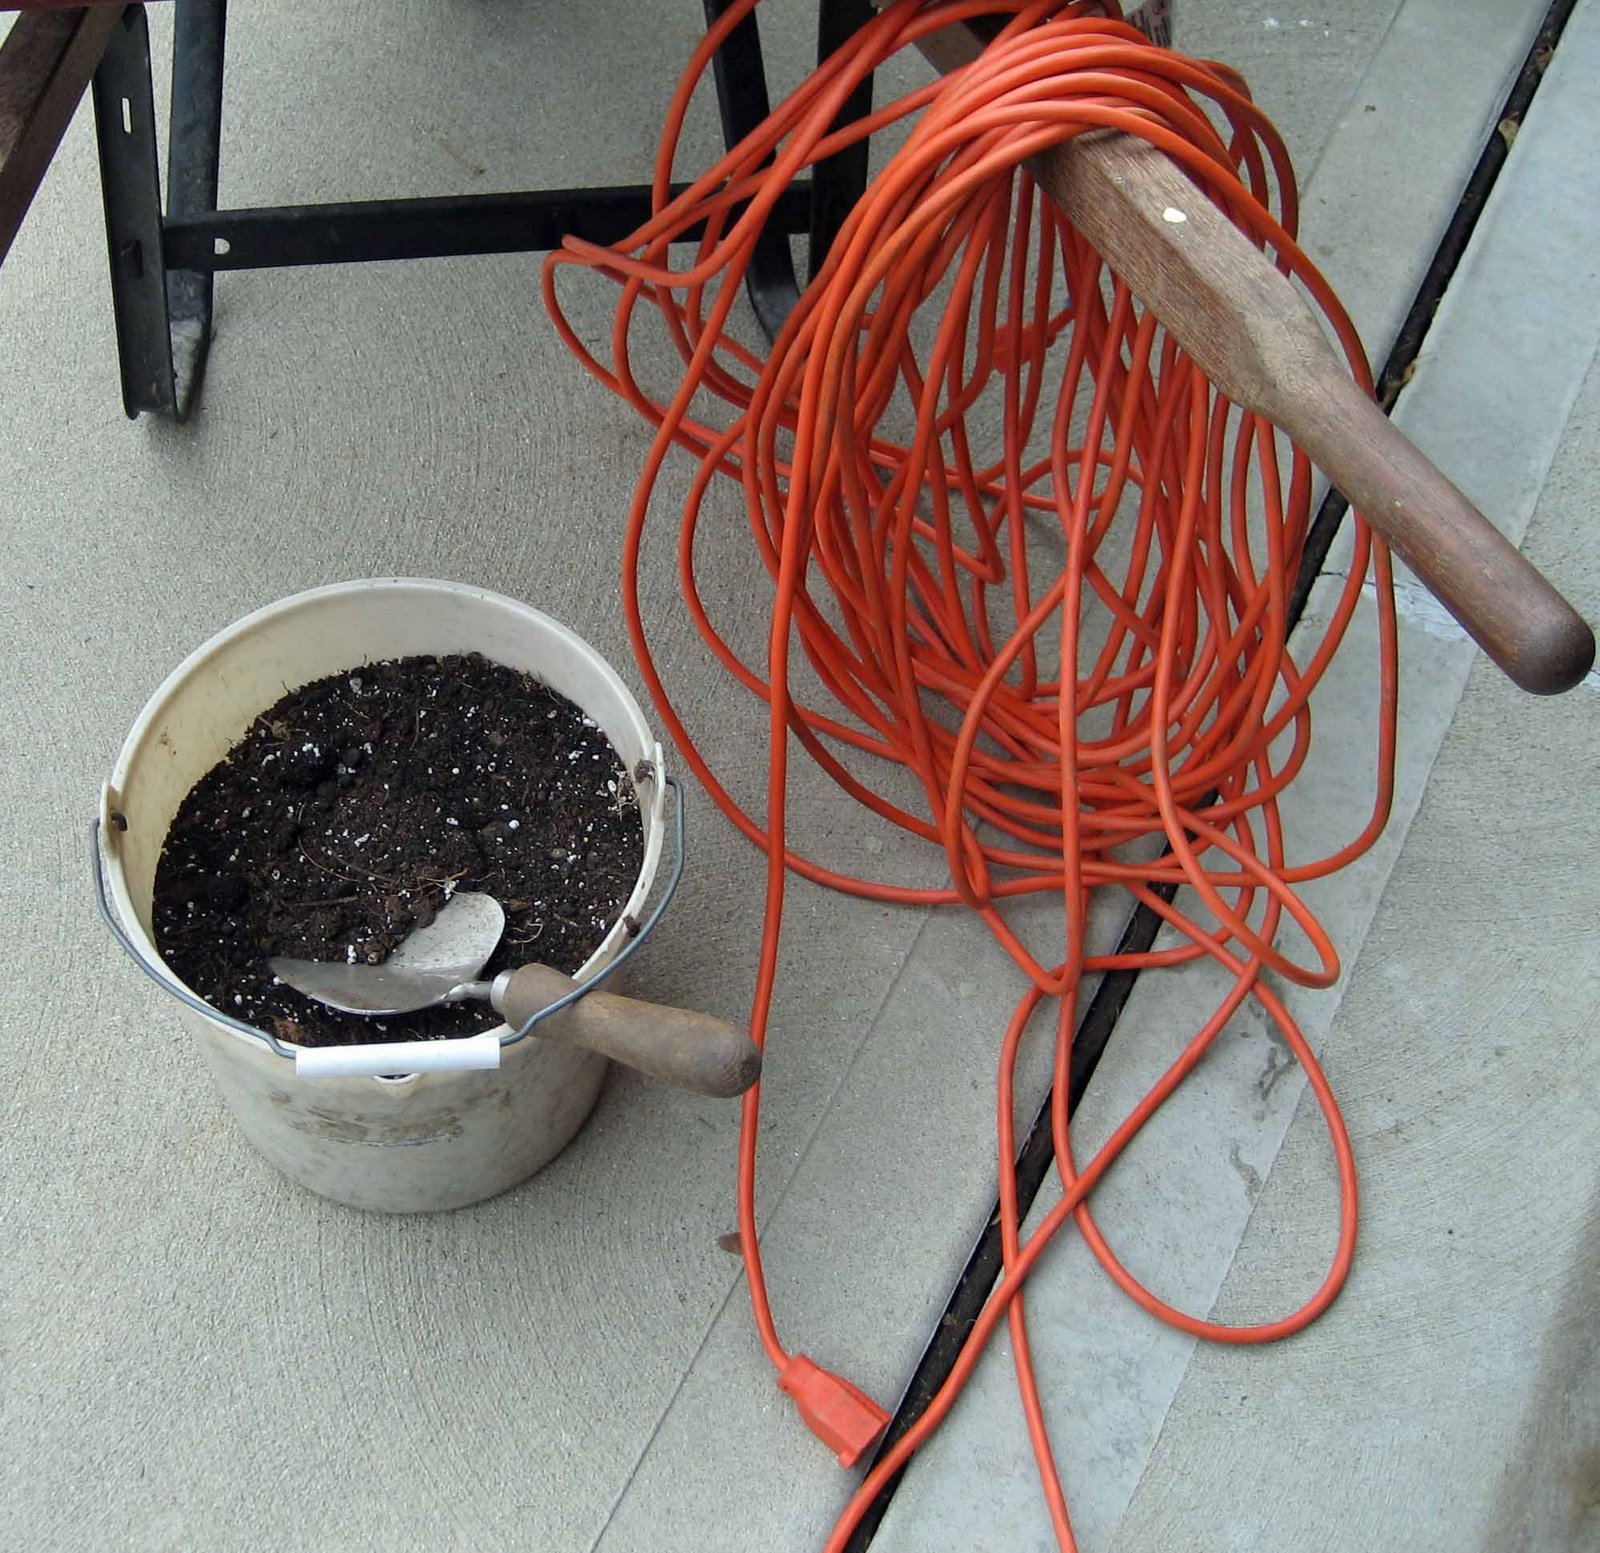 I use a corded electric drill because that’s what I have. Plus, I don’t think a cordless drill will give you enough power to drill a good hole if you have heavy or clay soil.
Once you’ve assembled all the bulbs, tools, and supplies, you are ready to go.
I planted a lot of my bulbs in this area by my front porch.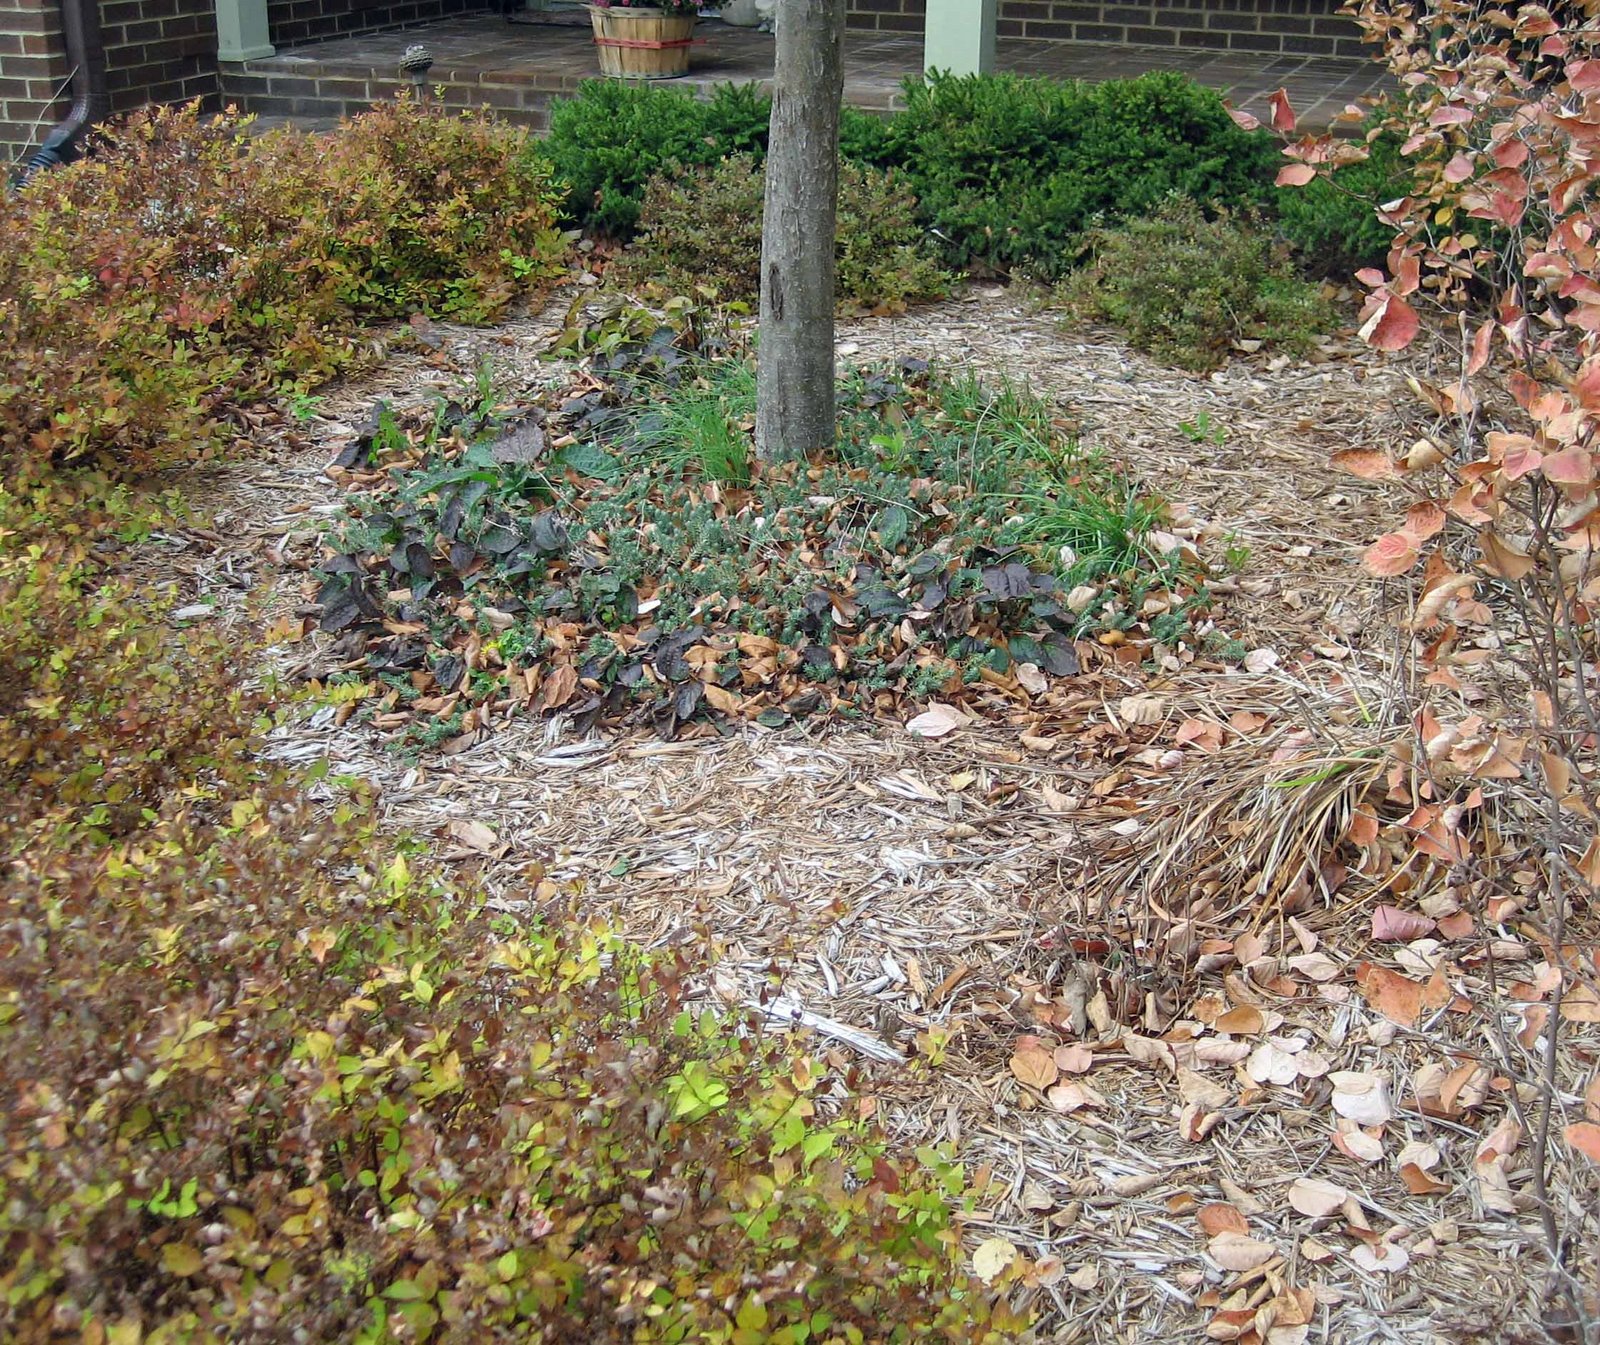 I brushed the mulch aside, put my safety glasses on and commenced to drill some holes.
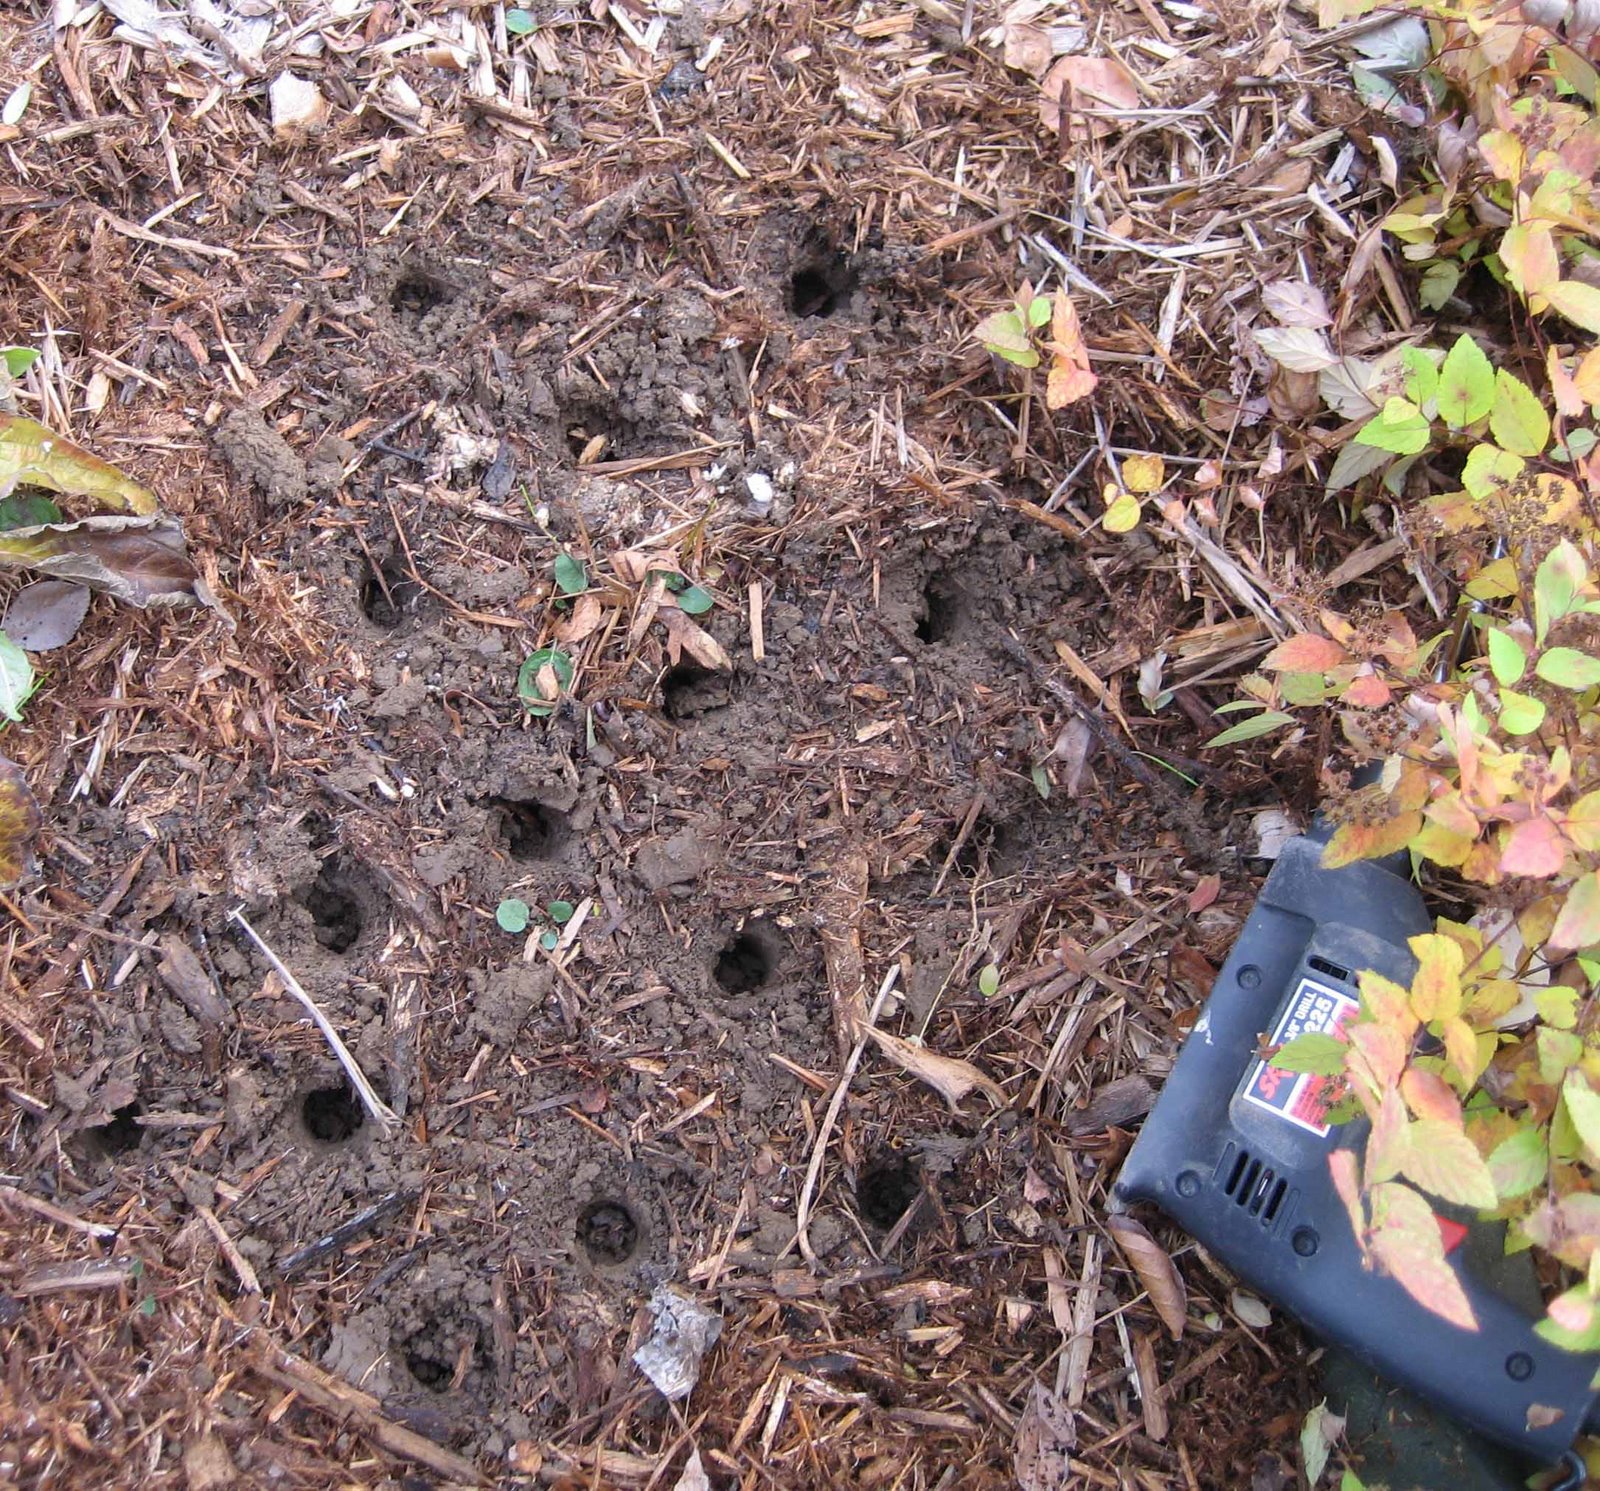 The second lesson is don’t drill too many holes at once, or you’ll lose track of them, especially if you are planting crocuses in the grass.
Once you’ve drilled the holes, drop a bulb in each one and then cover the hole over with some of the extra dirt your brought along.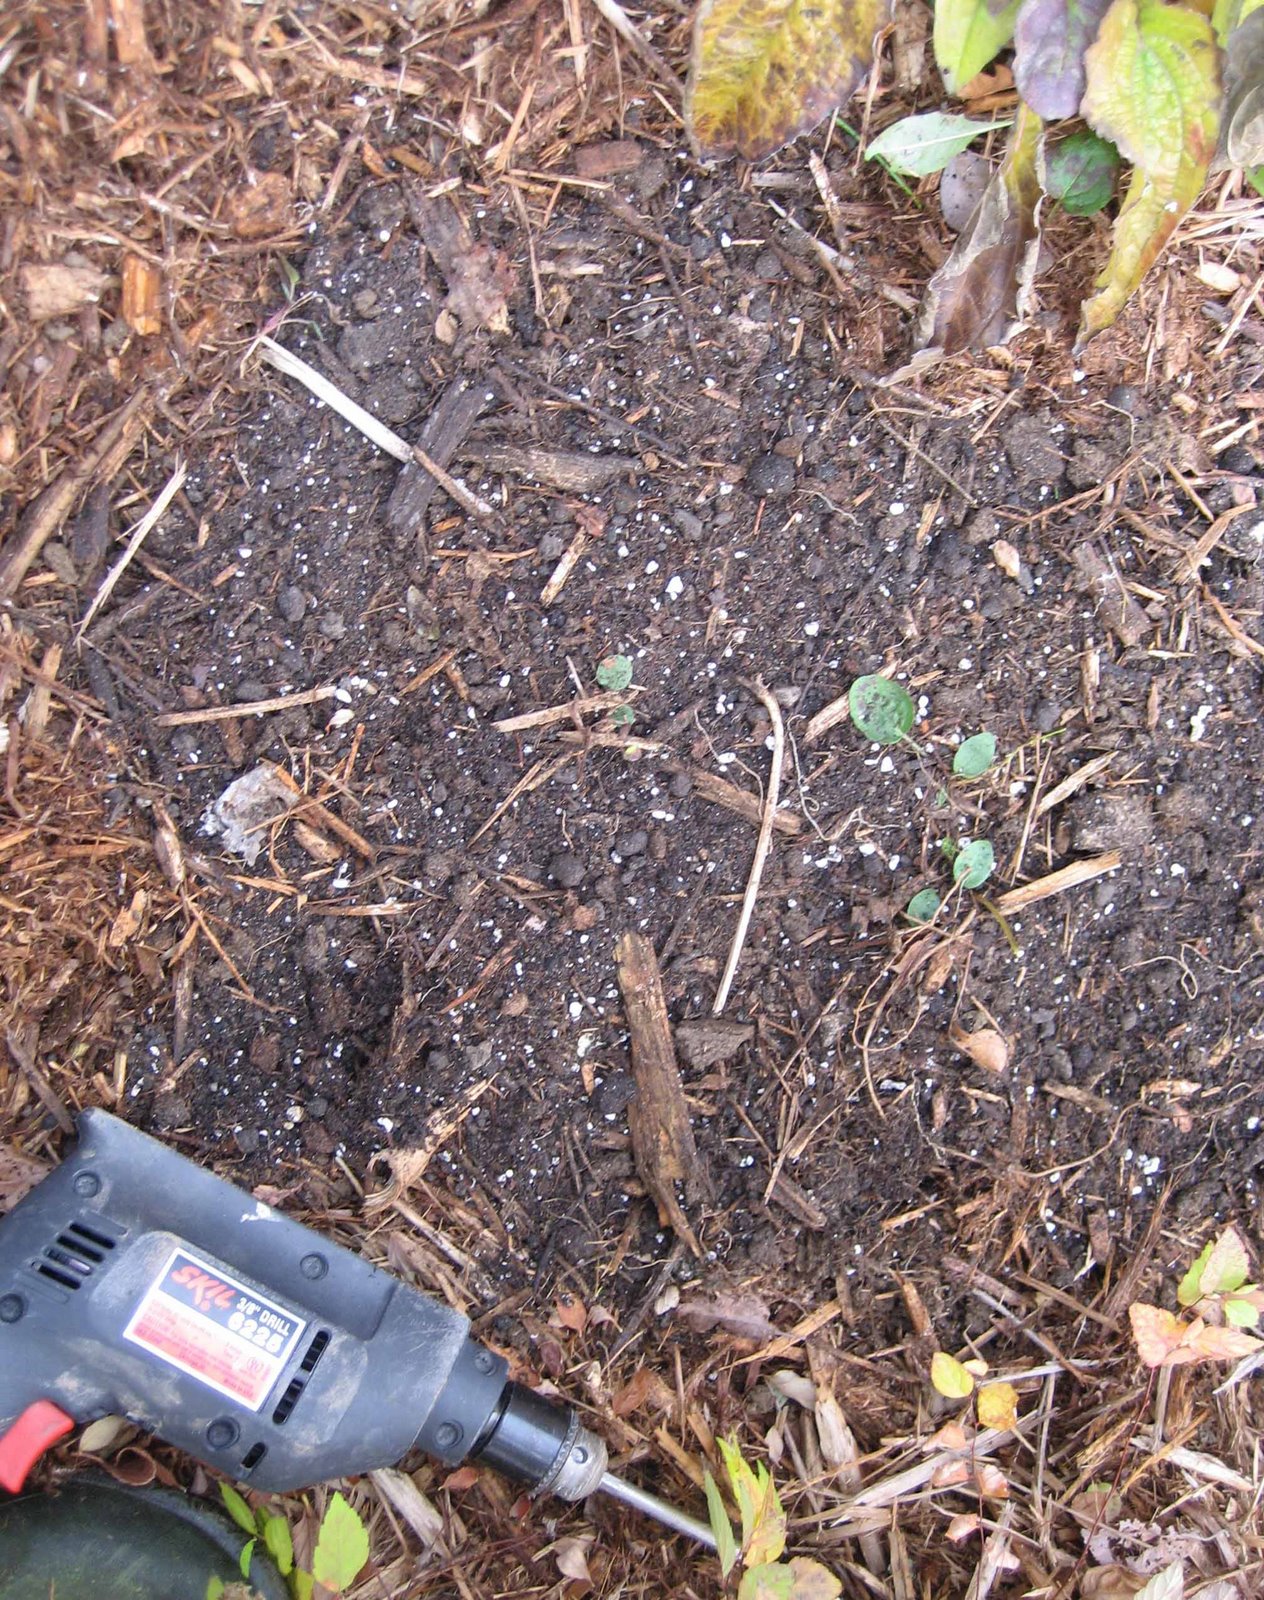 Then move on to the next area and repeat.
That’s all there is to planting bulbs with a drill and a spade bit.
It’s easy and it’s fast. I got all my minor bulbs planted this afternoon, on a typical cloudy November day, except it was close to 60 degrees. Perfect weather for planting bulbs like…
50 Iris danfordiea
50 Iris reticulata ‘Clairette’
50 Chionodoxa sardensis
25 Oxalis adenaphylla
10 Anemone blanda
25 Dutch Iris
120 Crocuses
The third and final lesson is to take your pruners with you any time you are in the garden. You won’t need them for planting bulbs, but you might find something that needs to be cut off or cut back when you are out there, and won’t it be easier if you have your pruners with you?
If you have any questions about this method for planting bulbs, leave a comment or send me an email.
And don’t forget to complete the online survey to help choose the next book for the Garden Bloggers’ Book Club.


Hi Carol,
I found that post totally fascinating. You explained it so well. Thank you!
I must say I was wondering why you had those pruners on your list of needed tools. 🙂 One can never be too prepared in life or in the garden.
Have a great evening.
Carol this is a great tutorial about planting bulbs. You even mentioned safety.
I totally agree that a battery drill wouldn’t hold up to the amount of bulbs that you have planted. Whew wears me out just looking at all those bulbs.
I will look forward to spring to see all these beauties blooming.
Great idea. One more tip: watch out for irrigation tubing or garden-light wiring. I managed to nick one of my low-voltage wires with a shovel today. Argh.
Carol, I have been away from your blog for too long! I’ve missed visiting.
I’ve had little success planting bulbs in the past and I bookmarked this post for planting in the next few weeks. I dare to do it despite our drought and water restrictions. I carry buckets of water to the few new things I’ve planted in the meantime…waiting for rain. Our nurseries are suffering and closing due to lack of sales. I have high hopes for a damp Spring.
I am also wondering how you find the time to post great information so often? LOL!
Thanks so much for teaching us some new (to me at least!) tricks…this is such a great idea…makes me want to go out and buy more bulbs!
Great tip thank you! I’ve yet to get out and plant my bulbs..better hurry as snow is on the forcast for Thurs.!
late getting started NG
Carol me again..are you having difficulty downloading onto Garden Voices?? I have for days I cannot get in??? NG
I wish I had read that before buying an auger bit! Although I’ve had it for about 5 years now and it does a great job. I also DO use a battery-powered drill and have had no problems!
~Angela 🙂
I would just add ( from bitter experience ) to cover the evidence of where you’ve planted the bulbs ( mulch ) or those pesky squirrels will dig them up and eat them.
Zoey… thanks, I hope you learned enough to try this method yourself sometime.
Lisa at Greenbow… It really didn’t take long once I got going. Maybe 90 minutes? I’m also looking forward to spring!
Pam/digging…That’s a great tip, not only for drilling, but also for digging. Sorry about your wire.
Mary… Always happy to have you come back for a visit. I can’t imagine what it must be like to be carrying buckets around the garden in the fall, to choose what to save. You have my sympathies. But you seem quite optimistic, yes a damp spring!
Leslie… Yes, go out and buy some more bulbs and give this a try!
Nature Girl… We are supposed to have snow flurries on Thursday, too. I don’t know what is wrong with Garden Voices, so I sent an email to ask about it.
Angela (cottage magpie)… A good battery powered drill would work, but not a little wimpy one. I find the auger bits throw dirt all over the place, more so than a spade bit.
Carolyn Gail… Excellent tip, I don’t have squirrels (yet) so don’t worry about them. I did cover over the planted areas with mulch agin.
Thanks all for joining in with even more ideas for good bulb planting and for the kind words.
Carol, May Dreams Gardens
Genius, Carol! I love it when tools are redefined (and appropriately re-appropriated) for garden use.
I guess I am going to ask for a drill for Christmas although the bit will have to be titanium to drill through all the rocks I have here! Still, I think I could use it to drill for small bulbs! I might get the Equipment Manager involved in bulb planting! He likes drills way more than me. Nice post and good work. Can’t wait to see those blooming…soon.
Oh! This is a great post, Carol! Who says you can’t teach an old dog new tricks? This is one method I’ll definitely have to try. Thank you for sharing your valuable gardening knowledge with us.
Are you ready for that snow? I’m not. I’ve enjoyed the warmer weather the last two days, but didn’t get finished mulching since I had company.
I’ve wondered about Garden Voices too.
I bought one of the garden auger bits this fall and it actually worked quite well once Romie flattened one side of where it goes into the drill. That made it stay in much better. He has a cordless drill that he used, and he ran the battery down pretty quickly, but he has two, so we made it through until all bulbs were planted. I used a shovel for the 6-8 inchers though. I just dug an area and plopped them in and covered them up. But for the smaller, shallower bulbs, that auger was GREAT!
This is a wonderful post that I’m going to refer my daughter to. Your tutorials are always so thorough, just the way they should be for beginning and experienced gardeners alike.